Water Bath Canning Peaches: Raw Pack, Hot Pack & No-Sugar Guides
There's nothing quite like the taste of a perfectly ripe peach, bursting with sweet, summery flavor. While fresh peaches are a seasonal delight, learning how to preserve them through water bath
canning peaches allows you to enjoy that sunshine all year long. This comprehensive guide will walk you through the entire process, covering everything from preparing your fruit to choosing between raw pack and hot pack methods, including delicious no-sugar options. Whether you're a seasoned canner or just starting,
canning peaches is a rewarding and relatively simple way to stock your pantry with homemade goodness.
Why Can Peaches? The Sweet Benefits of Homemade Preserves
Beyond the sheer joy of biting into a juicy peach in the middle of winter, there are numerous benefits to
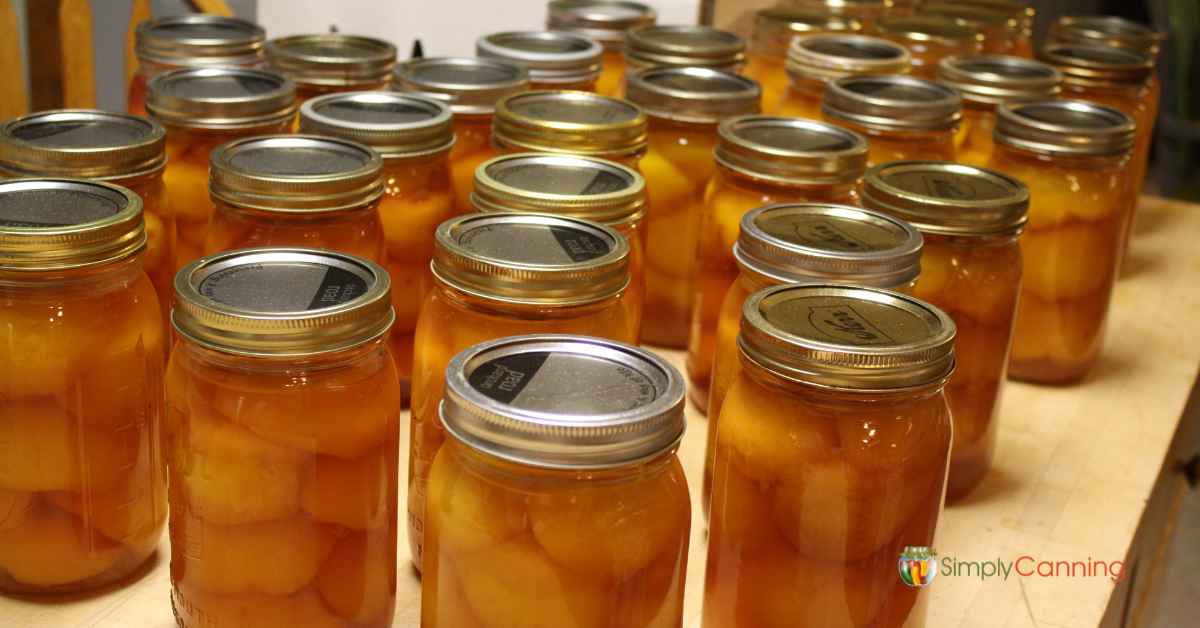
canning peaches at home. You gain complete control over the ingredients, ensuring your family enjoys fruit free from unwanted additives or excessive sugars. Sourcing peaches directly from a local orchard or farmer's market, or even your backyard tree, means you're preserving peak-fresh flavor. This process transforms a perishable bounty into a shelf-stable treat, perfect for breakfasts, desserts, or snacking. Plus, the satisfaction of seeing those gleaming jars lined up in your pantry, filled with your own handiwork, is truly unparalleled.
Essential Preparation for Successful Peach Canning
Before you even touch a peach, setting up your workspace and equipment correctly is crucial for safe and efficient canning.
Canner and Jar Preparation
*
Water Bath Canner Setup: Fill your water bath canner with enough water to cover your jars by at least one inch once they are submerged. Place it on the stove and turn the burner to high. Once it reaches a boil, reduce it to a simmer to keep the water hot and ready.
*
Cleaning Jars: Wash your canning jars thoroughly with hot, soapy water, or run them through a dishwasher cycle. Keep them warm to prevent thermal shock when adding hot fruit and syrup, which could cause them to crack. A common method is to fill them with hot water or place them on a tray in an oven set to 170°F (77°C).
*
Lid & Band Prep: Wash new canning lids and screw bands in warm, soapy water. While older recommendations suggested simmering lids to sterilize them, modern lids no longer require this step. Simply set them aside in a clean place.
Selecting and Preparing Your Peaches
*
Choose Wisely: Select firm, ripe peaches. Avoid any with bruises or soft spots. The ideal peach for canning will have a vibrant color and a sweet aroma. If you don't grow your own, visiting a local orchard or U-pick farm is an excellent way to get fresh, high-quality fruit.
*
Washing & Halving: Gently wash your peaches under cool running water, rubbing the skin to remove any dirt or fuzz. Using a paring knife, cut each peach around the middle, following the seam, then twist the two halves apart. Remove the pit.
*
Blanching for Easy Peeling: This step is a game-changer for effortless peeling.
1. Bring a large pot of water to a rolling boil.
2. Carefully lower a single layer of peach halves into the boiling water for 30-60 seconds. You'll know they're ready when you see the skin start to wrinkle or loosen.
3. Using a slotted spoon, quickly transfer the peaches to an ice bath for one minute to stop the cooking process.
4. Remove the peaches from the ice bath. The skins should now slip off easily with your fingers or a small knife.
5. Once peeled, you can slice or halve your peaches further, according to your preference. If you're not packing them immediately, place them in a bowl of water with a little lemon juice to prevent browning.
Choosing Your Sweetener: Syrups for Canning Peaches
The beauty of homemade
canning peaches is customizing the sweetness to your liking. Peaches are versatile and can be canned in various liquids, from rich syrups to pure water.
*
Sugar Syrups: The most traditional choice, offering a range of sweetness levels.
*
Very Light Syrup: 1¼ cups sugar to 5½ cups water. Enhances natural peach flavor without being overly sweet.
*
Light Syrup: 2¼ cups sugar to 5¼ cups water. A good all-around choice that balances sweetness and fruit flavor.
*
Medium Syrup: 3¼ cups sugar to 5 cups water. For those who prefer a sweeter preserve.
*
Heavy Syrup: 4¼ cups sugar to 4¼ cups water. Best for fruits that are less sweet or when you desire a richer dessert syrup.
*
Honey or Fruit Juice Syrups: For an alternative to granulated sugar, you can use honey, apple juice, or white grape juice. Adjust quantities to taste, noting that honey will impart its own distinct flavor.
*
No-Sugar Added Options: Many people prefer to can peaches in just water or fruit juice, allowing the natural sweetness of the fruit to shine. This is a fantastic option for those monitoring sugar intake.
Easy Canning Peaches: Low-Sugar Options for Beginners offers more insights into these methods.
Pro Tip: If you're processing multiple batches of peaches in a day, prepare your chosen syrup ahead of time and transfer it to a slow cooker set to "high." This keeps the syrup hot and frees up valuable stovetop space.
Canning Methods Explained: Raw Pack vs. Hot Pack
When it comes to packing your peeled peaches into jars, you have two primary methods: raw packing and hot packing. Each has its advantages and specific requirements.
Raw Pack for Canning Peaches
*
What it is: Raw packing means placing the peeled, raw peach slices directly into your warm jars without any prior cooking. Hot syrup is then poured over the fruit.
*
Pros: This method is generally faster in terms of upfront preparation, making it a good choice when you have a large volume of fruit to process quickly.
*
Cons: A common side effect of raw packing is "fruit float." Because raw peaches contain more air, they tend to shrink and float to the top of the jar during processing, leaving a void at the bottom filled only with syrup. This is purely cosmetic and does not affect the safety or quality of your sealed jars.
*
Important Rule: If you are
canning peaches with *no added sugar* (using only water or unsweetened juice), you *must* use the hot pack method to ensure proper preservation and quality. Raw packing is only recommended when using a sugar or fruit juice syrup.
*
How to Raw Pack:
1. Pack peeled peach halves or slices tightly into warm jars, leaving a generous ½-inch headspace at the top.
2. Pour hot syrup (or hot water if using a sugary syrup and just want to dilute) over the peaches, ensuring they are completely covered while maintaining the ½-inch headspace.
3. Gently tap the jars on your counter and use a non-metallic spatula or chopstick to release any trapped air bubbles. Add more hot liquid if needed to restore headspace.
Hot Pack for Canning Peaches
*
What it is: Hot packing involves gently pre-cooking the peaches in their chosen liquid (syrup, juice, or water) for a few minutes before packing them into jars.
*
Pros: This method allows the peaches to release some air and shrink slightly before canning, resulting in a fuller jar with less fruit float. It also helps preserve better texture and color. Hot packing is *required* for no-sugar added peaches.
*
Cons: It adds an extra step to the preparation process, making it slightly more time-consuming upfront than raw packing.
*
How to Hot Pack:
1. Combine peeled peach halves or slices with your chosen hot syrup, fruit juice, or water in a large pot.
2. Bring the mixture to a gentle boil and simmer for about 5 minutes, or until the peaches are heated through but not fully cooked.
3. Using a slotted spoon, carefully pack the hot peaches into warm jars, leaving a ½-inch headspace.
4. Ladle the hot cooking liquid over the peaches, covering them completely while maintaining the ½-inch headspace.
5. Remove air bubbles and adjust liquid as for raw pack.
The Water Bath Canning Process: From Jar to Pantry
Once your jars are packed, the final steps involve sealing and processing them.
1.
Wipe Rims & Apply Lids: After removing air bubbles and adjusting headspace, wipe the rims of each jar clean with a damp cloth. This is critical for a proper seal. Place a clean, warm lid on top of each jar, then screw on the bands finger-tight – just enough resistance, but not overtightened.
2.
Load the Canner: Carefully place the filled jars into your simmering water bath canner, ensuring they are not touching each other. The water level should cover the tops of the jars by at least one inch. If not, add more hot water.
3.
Process Jars: Bring the water in the canner back to a rolling boil. Once boiling, start your timer. Processing times vary depending on your altitude and the type of pack (raw vs. hot). For half-pints, pints, and quarts, typical processing times range from 20-30 minutes for hot pack and 25-30 minutes for raw pack at altitudes up to 1,000 feet. Always consult a reliable canning guide (like those from the USDA Extension) for precise times based on your specific conditions.
4.
Cool & Check Seals: Once the processing time is complete, turn off the heat and carefully remove the canner lid. Let the jars rest in the hot water for 5 minutes before carefully lifting them out and placing them on a wire rack or towel-lined surface to cool undisturbed for 12-24 hours. As they cool, you'll hear the satisfying "ping" of lids sealing.
5.
Storage: After cooling, check all seals. Press down on the center of each lid – if it doesn't flex, it's sealed. Remove the bands, wipe jars clean, label them with the contents and date, and store in a cool, dark place. Unsealed jars must be refrigerated and consumed within a few days. For more detailed instructions, check out
How to Can Peaches at Home: Preserve Fruit Year-Round.
Conclusion
Canning peaches is a rewarding culinary journey that connects you to the seasons and provides a pantry full of delicious, wholesome fruit. By understanding the nuances of raw pack versus hot pack, customizing your syrup, and following safe canning practices, you can confidently preserve the sweet taste of summer for months to come. So, gather your fresh peaches, prepare your canner, and embark on a delicious adventure in home preservation!